When Should You Propagate Succulents? A Seasonal Guide
Multiplying your plant collection for free sounds great. But timing is the actual secret behind a successful leaf or stem cutting. Many beginners try to grow new plants from fallen leaves.
They place them on dirt with high hopes. Then they just watch them shrivel up or rot into mush. This happens because they attempted the process at the wrong time of year.
You pour time and hope into these tiny cuttings. Seeing them fail is incredibly frustrating. You might think you have a black thumb.
The truth is much simpler. Your plant was just asleep.
You will learn the exact biological triggers that wake up a cutting. We will cover which seasons yield the highest success rates. You will also get a simple three step process to root your new baby plants safely.
Knowing the best time to propagate succulents changes everything. Read on to discover exactly When Should You Propagate Succulents.
The Science of Seasons: Why Does Timing Matter So Much?
Plants are living things with internal clocks. Succulents have a natural clock guided by temperature and daylight hours. They use these environmental clues to know when to grow and when to rest.
Taking a cutting creates an open wound on your plant. This forces the plant to spend a massive amount of energy to heal that cut and grow new roots.
Succulents sleep during their dormant season. This resting period is crucial for their long term survival in harsh climates. If you take a cutting during this sleep, the plant simply lacks the active energy to root.
It will sit on the soil doing absolutely nothing. Eventually, it will either rot from soil moisture or dry up completely.
Trying to root a cutting in mid winter often leads to a zero percent success rate for most popular indoor varieties. The plant is chemically asleep. Its cells are not dividing or pushing out new growth.
Fighting the natural succulent propagation season is a guaranteed way to fail. You must work with the plant instead of against it.
Spring and Summer: The Golden Propagation Window
Spring is the absolute best time to propagate succulents. The rising temperatures and longer daylight hours create the perfect window for new life. These environmental changes trigger a rapid natural growth spurt.
The plant wakes up hungry and ready to expand. Cuttings taken in mid spring have the highest and fastest rooting success rate.
This rapid growth applies to almost all popular indoor varieties. Specialty growers note that succulents use these natural spring cues to reproduce in the wild. The soil warms up.
The days get longer. The plant pushes all its energy into making new roots and baby leaves. Under ideal spring conditions, new roots typically emerge in just two to four weeks.
You can actually see signs that your plant is ready. Look for bright green new growth at the center of the plant. Watch for leaves getting plumper and stems getting taller.
When you see these physical signs, it is time to take your cuttings.
Popular summer growers thrive during this warm time. Echeveria is a perfect example. These beautiful rosette plants root incredibly fast in May and June.
Crassula plants, commonly known as Jade, also love the heat. Ghost plants and most Aloes join this warm weather group. If you want free plants, spring is your best friend.
The Winter Exceptions: What Can You Grow in the Cold?
Winter dormancy means most plants stop growing entirely. But a few specific species are actual winter growers. These unique varieties come from regions with heavy winter rainfall.
They actually prefer cool weather. They will actively root during late autumn or early spring while your other plants sleep.
You should avoid propagating your summer growers during this time. The only exception is if you use artificial heat mats and strong grow lights. These tools can trick their internal clock into thinking it is spring.
But this takes a lot of extra work and expensive equipment.
When in doubt, it is always best for beginners to just wait for spring. But maybe you have a winter grower and want to try. Knowing your specific plant species helps you answer When Should You Propagate Succulents accurately.
Winter growers include beautiful varieties like Aeoniums. These plants get stunning colors in the cool winter months. Small leaved Sedums also fall into this category.
Senecio varieties, like the popular String of Pearls, often put on a lot of growth in the cooler autumn months. You can take cuttings of these specific plants when the weather turns crisp.
3 Steps to Success: How to Propagate Succulents Properly
The physical steps to create a new plant are actually very simple. Having the right tools makes the job incredibly easy. You need clean garden shears and a shallow tray.
You also need a bag of gritty dirt. Here is exactly how to propagate succulents safely and effectively.
Step 1: The Clean Cut
You need a perfect piece of the plant to start. Gently hold a healthy, plump leaf near the main stem. Wiggle it softly from side to side until it snaps off.
You want a very clean break with no ripped tissue. If the base of the leaf tears, it will not grow roots. It will just turn to mush.
For stem cuttings, use sterile scissors to snip a piece off the top.
Step 2: The Callus Phase
This is the most critical step that beginners miss. Leave your fresh cutting in a dry and shaded spot for two to five days. Do not put it on dirt yet.
Do not give it any water. The open wound needs to completely scab over.
This dry scab is called a callus. A solid callus is crucial to prevent rot. Skipping this drying time is the number one reason leaf cuttings fail.
If you put a fresh cut on wet soil, it acts like a sponge. It absorbs water immediately and drowns from the inside out. Let it dry until the end looks like a tough little scab.
Step 3: The Rooting Phase
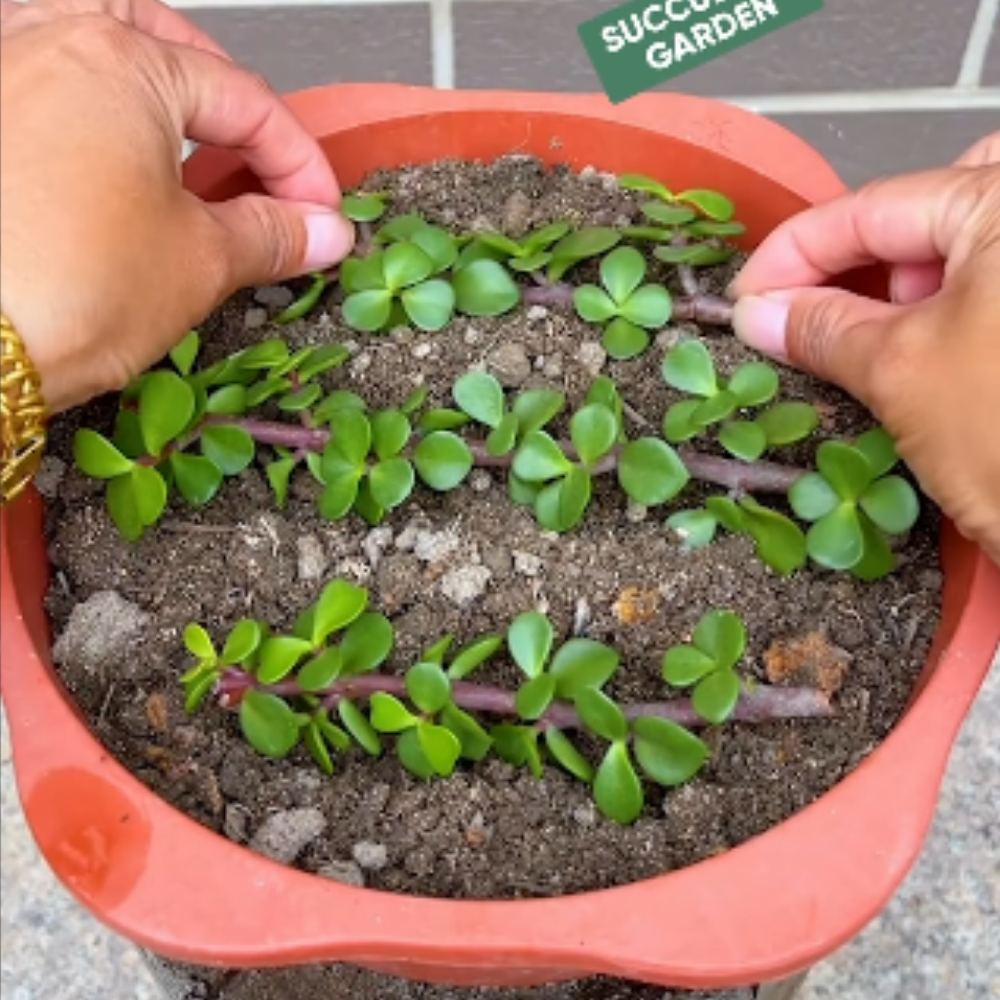
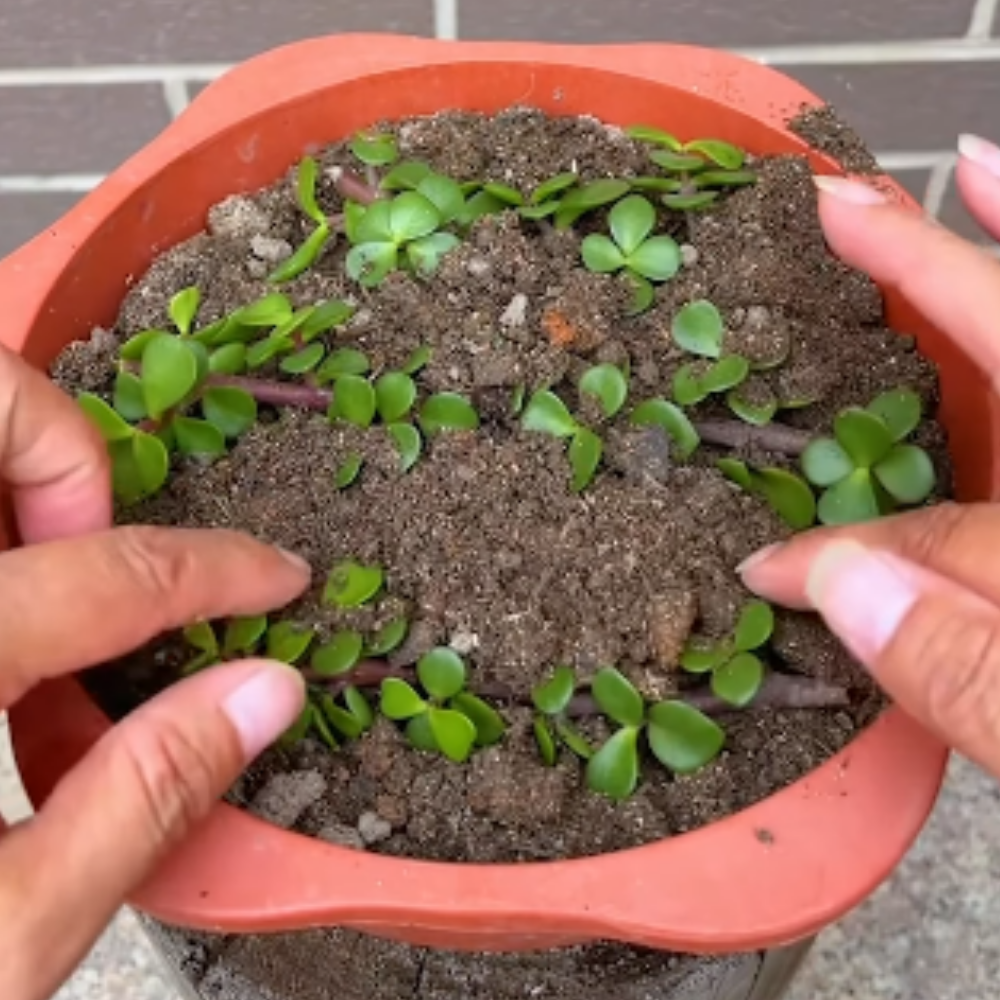
Now you are ready for soil. Place the callused leaf on top of a well draining cactus soil mix. Do not bury the leaf in the dirt.
Just lay it flat on the surface. Keep the tray in bright but indirect sunlight. Direct hot sun will burn the tiny cuttings before they can grow.
Wait until you see tiny pink or white roots appear. Once roots show up, you can mist the soil very lightly every few days. The roots will naturally dig down into the dirt to find that moisture.
How to Water Your New Cuttings
Watering is the trickiest part of the entire process. New cuttings do not have roots yet. They cannot drink water from the soil.
Pouring water on dirt with no roots is a recipe for disaster. The wet dirt will just cause the leaves to rot.
You must wait until you see physical roots. Once those tiny pink strings appear, you can introduce water. Do not pour heavy streams of water over the tray.
A heavy stream will wash the delicate babies right out of the soil.
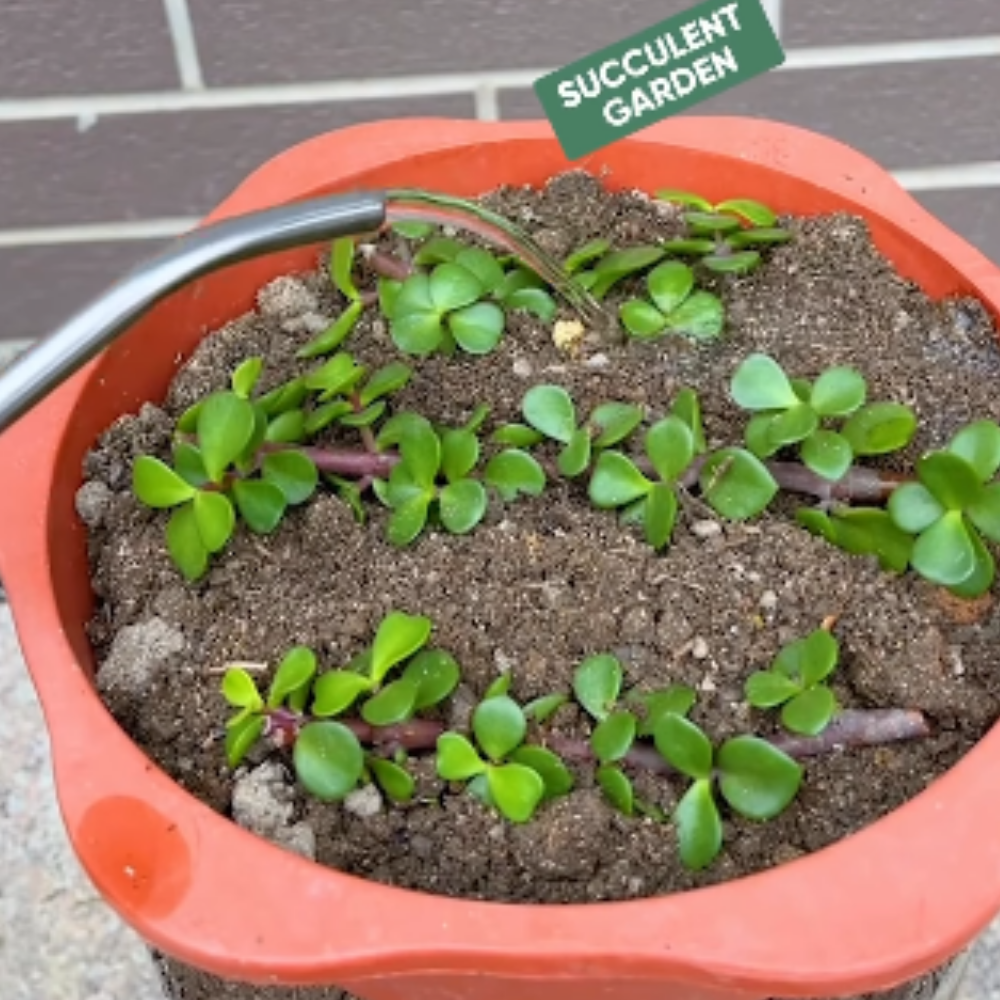
Instead, use a fine mist spray bottle. Spray the top of the soil lightly every three to four days. You want the top layer of dirt to feel slightly damp.
As the roots grow deeper, you can slowly start watering them like normal adult plants.
Why Did My Cutting Fail? 4 Common Problems Solved
Sometimes things go wrong even when you try your best. Plant care is a learning process. Identifying the exact problem helps you succeed the next time.
Here are the most common propagation failures and how to fix them.
The Leaf Turned Yellow and Mushy
This is a classic case of overwatering or rot. You likely skipped the callus phase. Or you might have placed the leaf on soaking wet dirt.
Next time, let the cut dry longer. Keep the soil much drier until roots form.
The Leaf Shriveled Up Completely
This means the cutting got too hot or too dry. You might have placed your tray in direct afternoon sunlight. The intense heat baked all the moisture out of the leaf before it could root.
Move your next batch to a cooler spot with softer light.
It Grew Roots but No Baby Plant
This is very common and perfectly normal. Sometimes a leaf will throw out a massive root system but never sprout a new rosette. Just leave it alone and be patient.
It can sometimes take months for the baby plant to emerge. Keep caring for it normally.
It Grew a Baby Plant but No Roots
This tiny plant is pulling all its water and energy from the mother leaf. It has not felt the need to search for water in the soil yet. Stop misting it completely.
Let the soil get bone dry. This slight thirst will force the baby plant to send roots down into the dirt to survive.
Essential Tools for Your Propagation Station
Setting yourself up for success requires a few basic supplies. You do not need anything expensive. But using the right materials makes a massive difference in your success rate.
Start with the right soil. Regular potting soil is too heavy and holds too much water. You need a mix that drains incredibly fast.
Buy a commercial cactus soil. Then mix in extra perlite or pumice. This creates air pockets for the delicate new roots to breathe.
Use shallow containers. Tiny succulent roots do not need deep pots. Deep pots hold excess moisture at the bottom and cause rot.
Shallow terracotta dishes or basic plastic nursery trays work perfectly.
Keep your tools sterile. Always wipe your scissors with rubbing alcohol before taking a cutting. This simple habit prevents bacteria from entering the open wound on your mother plant.
Summary and Next Steps
Warmth and light are the main ingredients for new plant growth. Spring and summer are the absolute fail safe seasons for this project. Winter should be reserved for resting or very specific cold weather varieties.
You now have the knowledge to avoid rotting leaves and dead cuttings. You understand the science of plant energy. You know exactly what steps to take.
Go check your calendar today. Wait for the weather to warm up. Find a plump leaf on your healthiest plant.
Start your first cutting tray with confidence. Now that you know exactly When Should You Propagate Succulents, you can grow your beautiful indoor garden completely for free.